

Planting Garlic
Fall is the time to plant spring garlic. And here’s the secret…It’s super easy! Because garlic needs the cold months to form strong roots, you simply prep and plant the bulbs now, and then chill out drinking apple cider by the fire until spring comes.
At Area 2 Farms we’re getting our spring garlic in the ground, and will walk you through how you can too. The first step is to head to a seed producer or the grocery store and buy some organic garlic bulbs (avoid non-organic as they are treated to prevent rotting).
Then, follow this guide and, by spring, your bulbs will start growing into beautiful, flavorful garlic.

Hardneck vs. Softneck
There are two types of garlic to choose from. These names refer to the hardness of the central stalk that forms in spring.
Hardneck garlic produces garlic scapes (AKA the first shoots that pop out of the bulb in the spring). At that time, you will snip the garlic scapes off so the plant puts its energy into the bulb instead of flowering. But don’t toss them! Garlic scapes are a spring delicacy, like garlicky green beans. Sauté them or blend them into a delicious garlic scape paste.
Softneck garlic doesn’t produce scapes but generally stores longer after harvest.
Prepping Your Bed
These simple steps set your garlic up for a strong, healthy growing season.
1. Prep the Bed
Remove weeds and spread a layer of compost. If you already have a cover crop (like oats or clover), you can plant garlic directly into it, as winter frost will naturally knock it back by spring, leaving nutrients behind.
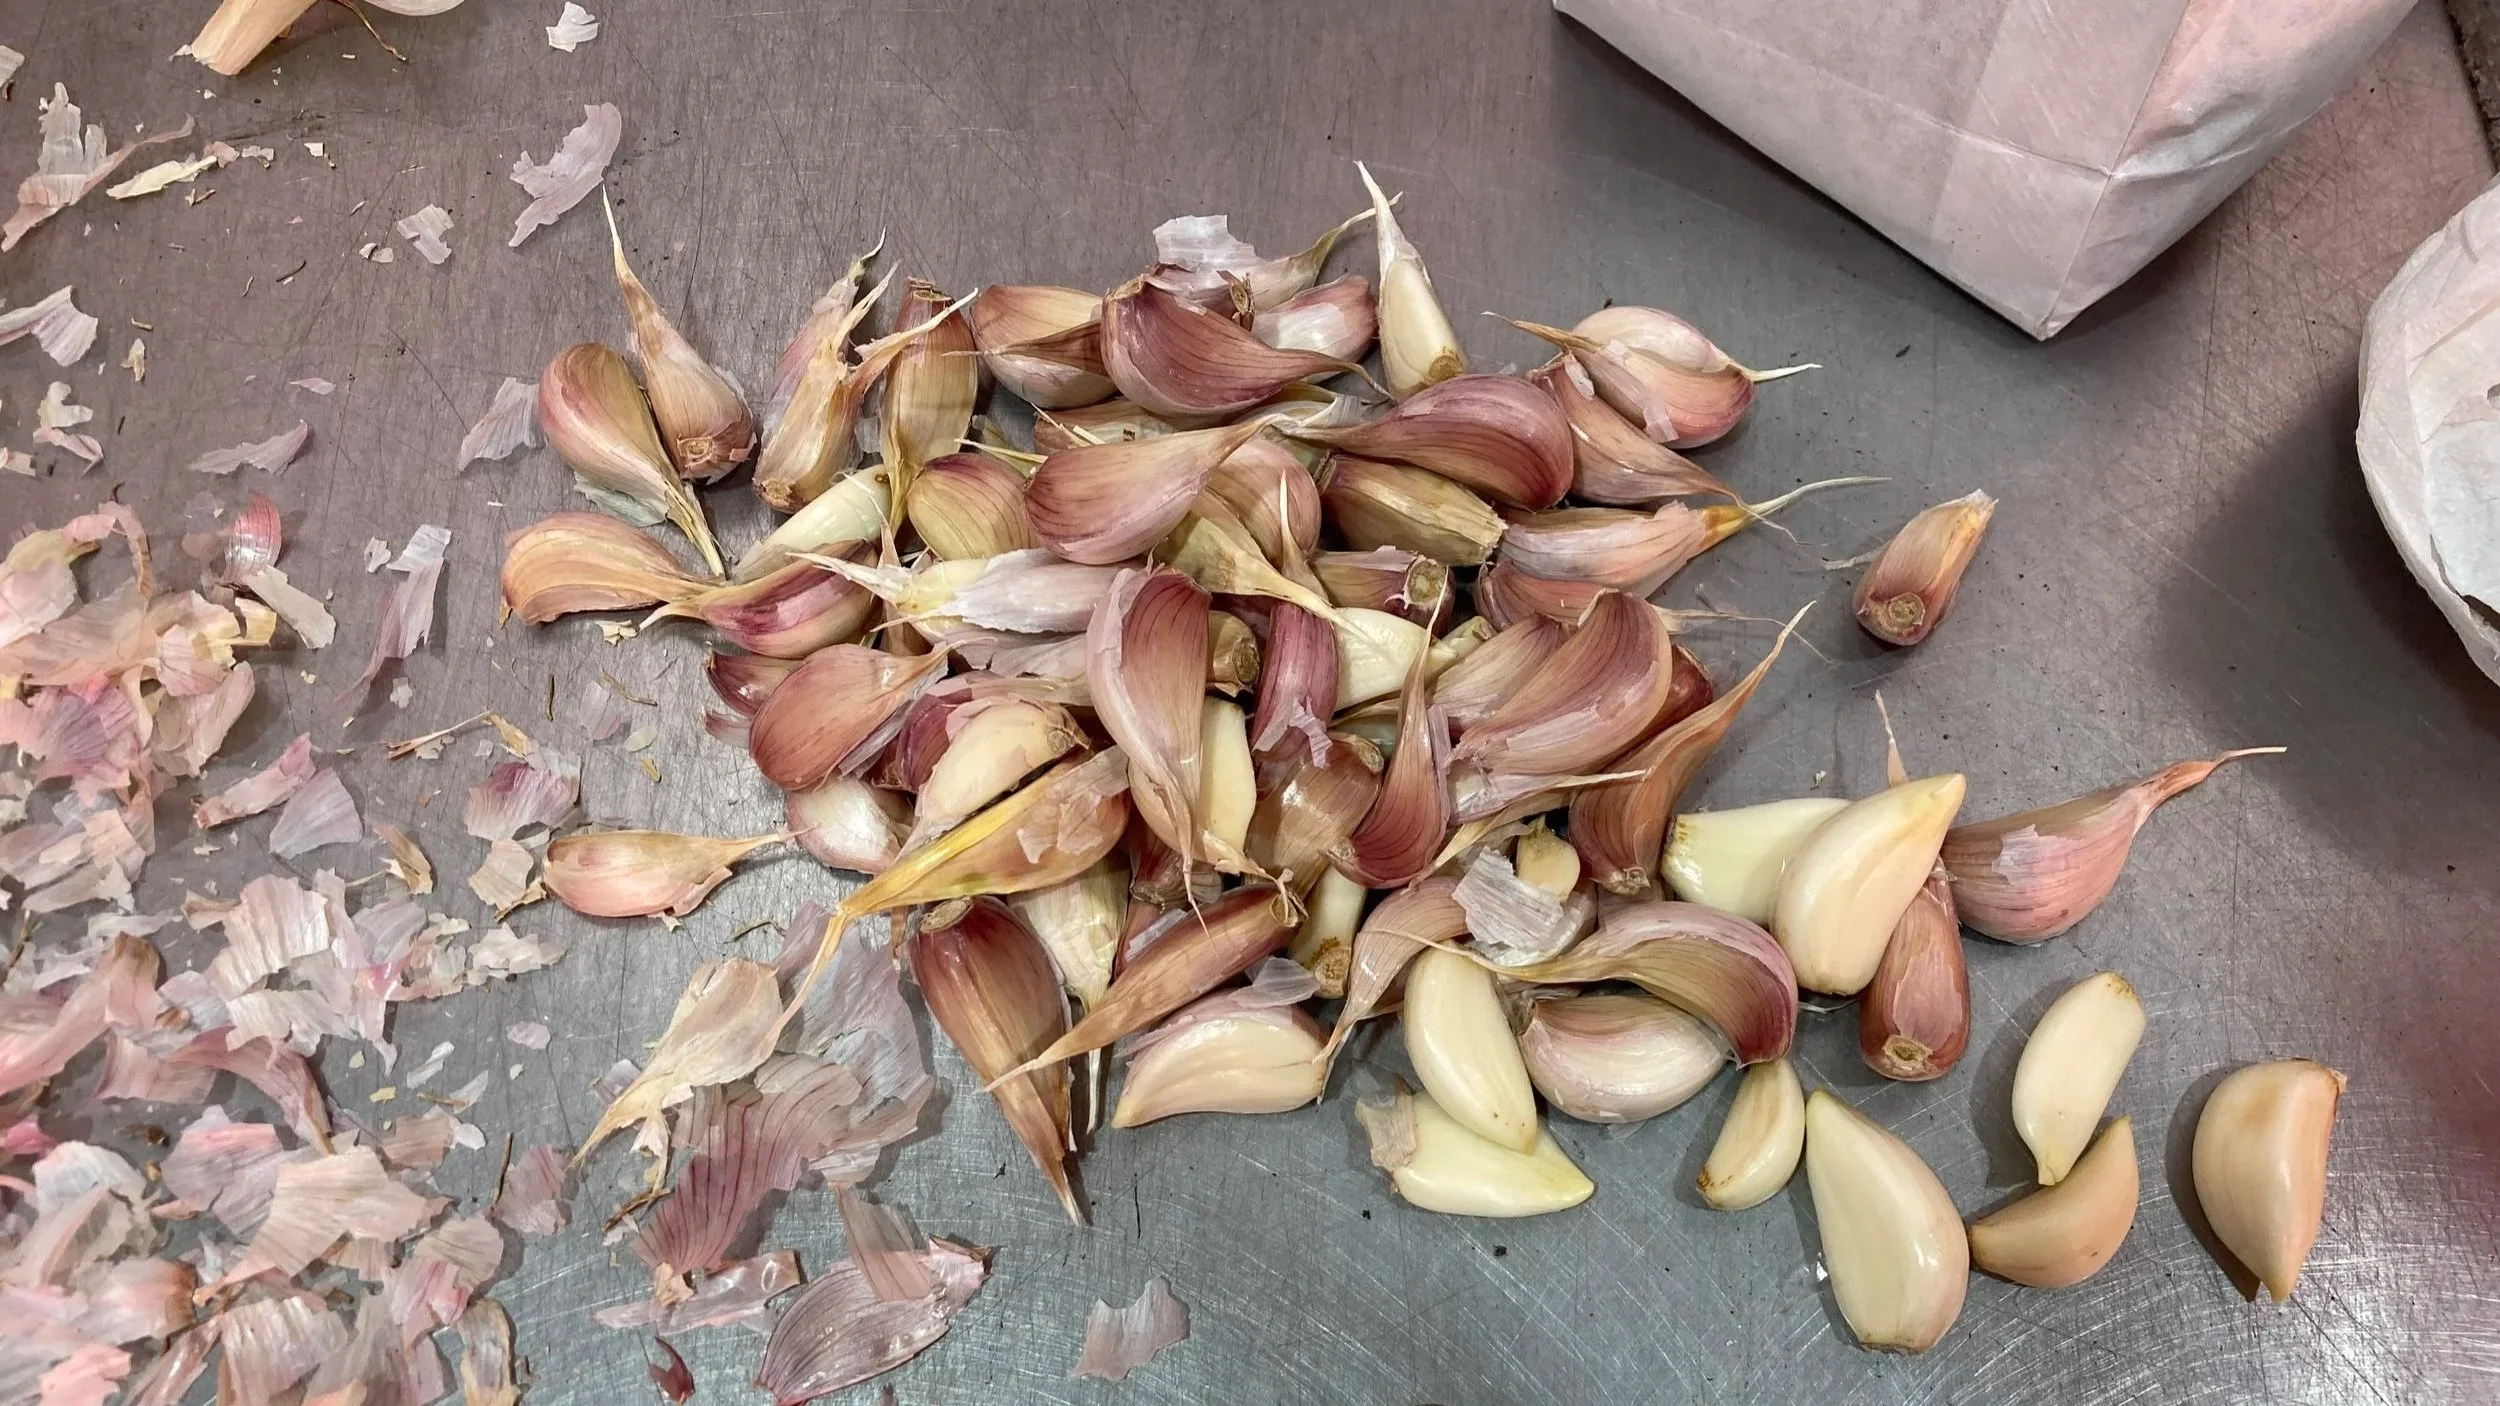
2. Break Apart the Bulbs
Separate the bulbs into individual cloves. Keep the papery skins on; they help protect against rot and disease.

Optional: The Pro Method We’re Trying This Year
For an extra-healthy start, we’re soaking our cloves before planting:
First, 10 minutes in hydrogen peroxide to reduce fungus and rot.
Then a dip in a molasses-based nutrient solution for a little early boost.
How to Plant Your Garlic
1. Make Your Planting Holes
Use your fingers or a small tool to create holes about 2 inches deep, spaced 2–6 inches apart (we went with a snug 2-inch spacing).
2. Set Each Clove
Place one clove in each hole with the pointed tip upward. Try to avoid planting your clove too deep. Make sure the top of the garlic is just barely poking out of the soil.
3. Add Winter Protection (If Needed)
In colder regions, cover your bed with burlap, hay, or leaf mulch to insulate the cloves. We are using burlap this year! And if racoons or squires are an issue in your garden, you can stake down chicken wire until the garlic is established.
4. Water Thoroughly
Give your garlic a deep watering after planting and aim to keep the soil consistently moist throughout the growing season.
5. Let Winter Do the Work
Once planted and watered, you get to relax because your garlic will rest all winter and begin sprouting in spring.
6. Boost Nutrients
When shoots appear, fertilize with an organic nutrient source like compost tea to support strong growth.
7. Harvest
Your garlic will be ready to harvest in late spring/early summer. Or when about a third of its leaves start to turn brown and point to the soil (aka the leaves are dying). At this point, you can pull it from the ground and enjoy! And be sure to save some cloves to plant next fall.
Area 2 Farms for Locals
Your food should be equally accessible and nutritious. Which is where we come in. At Area 2 Farms, we grow fresh organic produce within 10 miles of you.