

Vermicomposting at Home
Building Healthy Soil with Worms
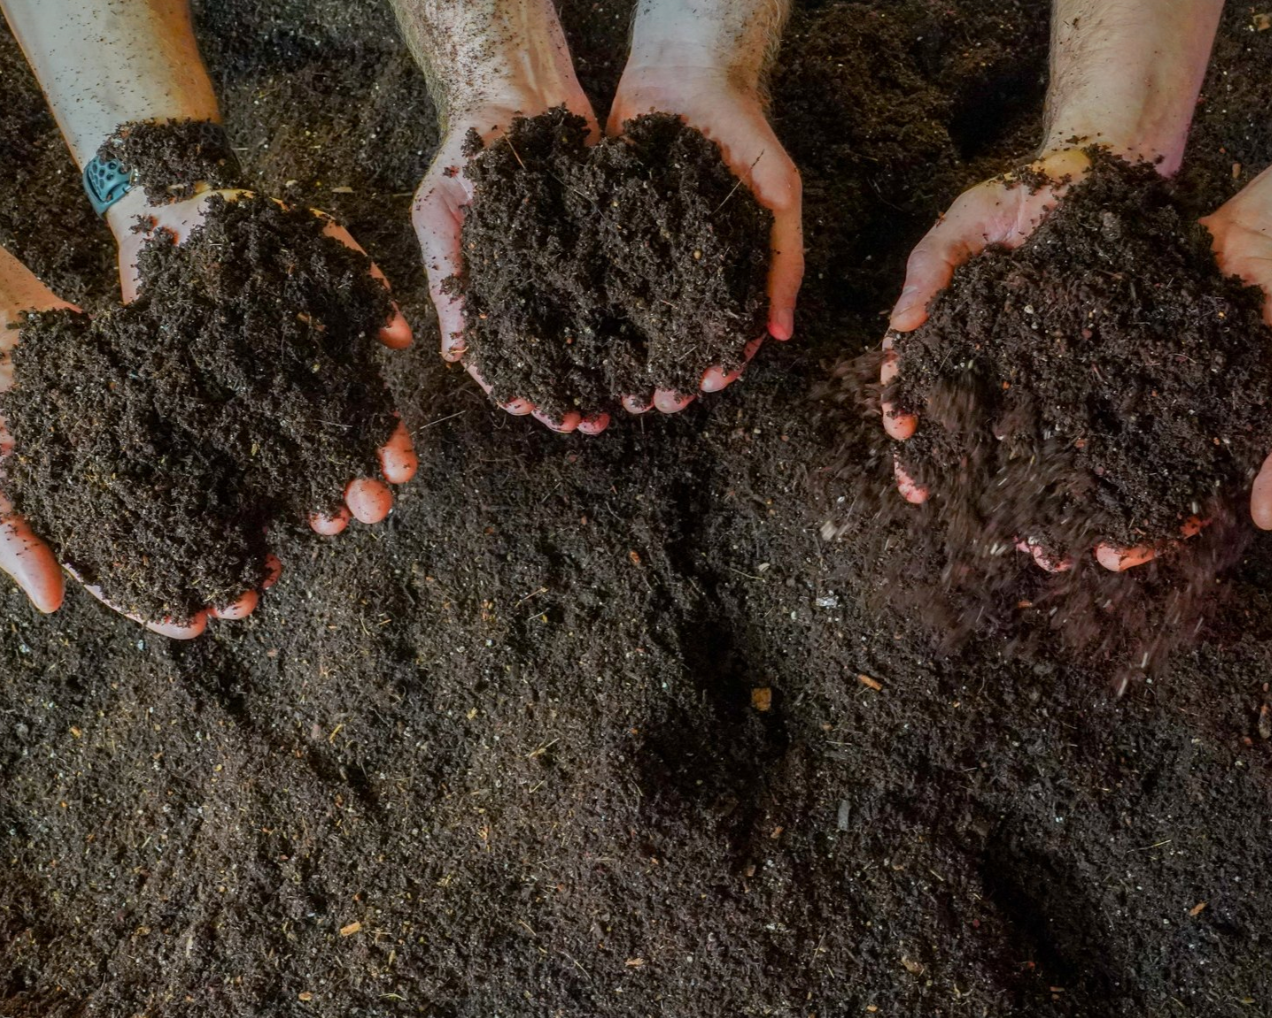
At Area 2 Farms, soil is the foundation of everything we grow. Our organic farming system is built on maintaining healthy, living soil rich in beneficial microbes that help plants absorb nutrients, build resilience, and produce delicious, nutrient-dense food. By focusing on soil health, we grow stronger crops and create a more sustainable system that supports both people and the planet. And the same approach we take at our farms can be applied to your garden at home.
Why Healthy Soil Matters
Healthy soil is the foundation for thriving plants and nutrient-rich food. It naturally resists pests and disease, anchors roots for stability, enhances flavor and nutrition, and supports a living network of beneficial microbes that keep the ecosystem in balance.

What Worms Do for Soil
Worms are nature’s recyclers, working quietly to regenerate soil by mixing and aerating it. Their castings lock in nutrients where plants can access them, while their activity speeds up composting and creates the perfect conditions for healthy microbes to thrive.
Why Compost at Home
Composting is an easy, eco-friendly way to reduce waste and improve your garden’s health. It cuts your carbon footprint by keeping food waste out of landfills, turns everyday scraps into nutrient-rich compost for gardens and houseplants, and offers a simple, hands-on activity the whole family can enjoy.
What You’ll Need to Get Started
A clean, two-level bin
Worms (red wigglers work best)
Wet, shredded paper for bedding
Crushed eggshells or agricultural lime
Food scraps like banana peels
Lid or cover for airflow
a bit of soil or sand
How to Build Your Worm Bin
Prepare bedding: Add moist, shredded paper or another carbon source and sand or soil.
Add calcium: Mix in crushed eggshells or agricultural lime to balance acidity.
Add worms: Place them gently on top of the bedding.
Feed lightly: Wait a moment to let the worms settle into the bedding and then add a small amount of food scraps to the top.
Cover loosely: Keep airflow with a lid.
Stack the bins: Use the lower level to collect “worm tea” (nutrient-rich liquid) and to let excess water drain out (worms don’t do well sitting in water).

Worm Care Tips
Refresh bedding every few months once it’s mostly eaten.
Feed lightly—worms should finish scraps within a couple of days.
Add calcium regularly to keep acidity in check and worms healthy.
Keep pests out by covering food scraps with additional carbon
Feed worms, fruits and veggies. Avoid processed/cooked foods and meat/animal products.
Worms have preferences too! They love sweet things like sweet potatoes and bananas but avoid citrus rinds and onions.
Troubleshooting Guide
Protein poisoning: Reduce feeding, remove spoiled food, and add dry bedding. You may need to switch bedding
Overwatering: Mix in dry paper or cardboard to improve airflow. Bedding should be moist but not dripping.
Underwatering: Lightly mist the bedding to restore moisture.
Too little food: Add small amounts of fresh food scraps regularly.
Too hot or cold: Keep the bin in a moderate environment (55–75°F).
Bad smell: Remove spoiled food and add dry bedding.
Mites in bin: Air out for a few days or sprinkle with diatomaceous earth.
Vermicomposting is simple, sustainable, and surprisingly rewarding. Once your system is set up, your worms will handle the hard work, turning kitchen scraps into rich, healthy soil that keeps your garden thriving.
Area 2 Farms for Locals
Your food should be equally accessible and nutritious. Which is where we come in. At Area 2 Farms, we grow fresh organic produce within 10 miles of you.